
Lighting Basics: Brightness, Contrast & Light Distribution
Proper workspace lighting is not simply about making a room brighter. It is about creating balanced, diffused illumination across your desk while avoiding harsh contrasts between your screen and the surrounding environment.
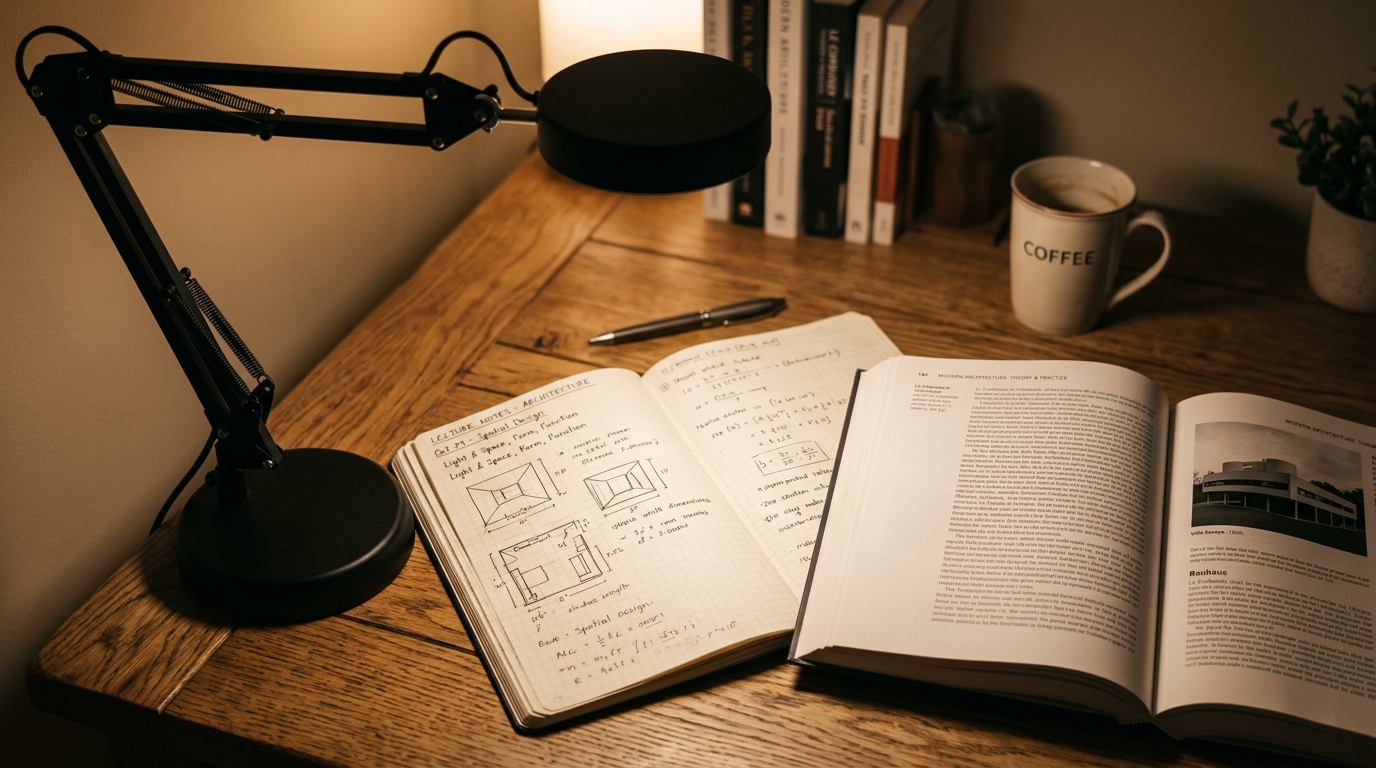
Direct vs Indirect Lighting
Most visual discomfort in Philippine homes originates from bare, unshielded ceiling lights. When a high-wattage fluorescent tube or LED bulb hangs directly overhead without a diffuser, it creates steep, dark shadows under your hands and reflects brightly off glossy screens.
Direct lighting points straight at an object. When focused onto a book or notebook via a shaded task lamp, direct light is highly functional. However, if direct light shines into your peripheral vision or reflects off a screen, your pupils constantly dilate and constrict, hastening visual fatigue.
Indirect (ambient) lighting bounces off walls, ceilings, or diffusers before reaching your eyes. It fills the room with a gentle baseline glow, softening shadows and narrowing the contrast ratio between your monitor and dark room corners.
The Ideal Combination: Layered Lighting
Combine a moderate ambient room light (150–250 lux) with an adjustable, shielded desk lamp (400–500 lux) focused strictly on your physical papers or keyboard. This two-layer system prevents dark room contrast while eliminating screen glare.
Recommended Brightness & Lux Levels
Lighting professionals measure illuminance in lux (lumens per square meter). For everyday desk activities, keep these baseline targets in mind:
| Activity Area | Recommended Illuminance | Primary Purpose |
|---|---|---|
| General Room Ambient | 150 – 250 lux | Safe navigation, softening shadows, relaxed baseline |
| Computer / Screen Work | 300 – 400 lux | Balanced with standard modern monitor luminance |
| Reading Printed Text & Handwriting | 450 – 600 lux | High contrast on matte paper without squinting |
| Detailed Drafting / Craft Work | 600 – 800 lux | Fine precision tasks requiring high visual fidelity |
Color Temperature (Kelvin): Matching Light to Time of Day
Color temperature describes whether white light appears warm (amber/yellow) or cool (crisp blue-white), measured on the Kelvin scale. Using the wrong color temperature at the wrong time of day can strain your eyes or disrupt your sleep rhythm.

- 2700K – 3000K (Warm White): Emits minimal short-wavelength blue light. Excellent for late-night study sessions or relaxing reading after 7:00 PM in the Philippines, as it does not suppress natural melatonin release.
- 3500K – 4500K (Neutral White): The sweet spot for daytime office work, virtual meetings, and long reading sessions. It feels clean and crisp without appearing cold or clinical.
- 5000K – 6500K (Cool Daylight): Mimics midday outdoor sunlight. Useful for technical drawing or daytime alertness, but should be avoided after sunset to prevent sleep disturbances.
Color Rendering Index (CRI): Clarity Without Strain
Color Rendering Index (CRI) measures how accurately an artificial light reveals the true colors of objects compared to natural sunlight (rated on a scale from 0 to 100). Cheap LED bulbs often have a CRI below 70, making text appear muddy and dull, which forces your eyes to work harder to distinguish letter edges.
Look for desk lamps and LED bulbs rated CRI 85 or higher (often labeled as Ra ≥ 85 or CRI ≥ 90 on packaging). High-CRI lighting makes black ink stand out crisply against notebook pages and renders screen colors faithfully.
Step-by-Step Lighting Optimization
Inspect Your Ambient Ceiling Fixture
If your room uses a bare LED bulb, install an inexpensive frosted shade or frosted dome to scatter the light evenly rather than having a pinpoint burning filament in your field of vision.
Place Your Task Lamp Opposite Your Writing Hand
Right-handed writers should position the lamp on the left side of the desk; left-handed writers should position it on the right. This prevents hand shadows from blocking your writing line.
Angle the Lamp Hood Downward
Ensure the edge of the lamp shade sits below your eye level so the glowing diode is never visible when looking straight ahead or glancing down at your notes.
Educational Reminder
While optimized lighting dramatically reduces headaches and tired eyes caused by visual fatigue, it cannot correct underlying refractive errors (such as myopia, hyperopia, or astigmatism). If text remains blurry despite adequate illumination, schedule an appointment with a licensed optometrist.